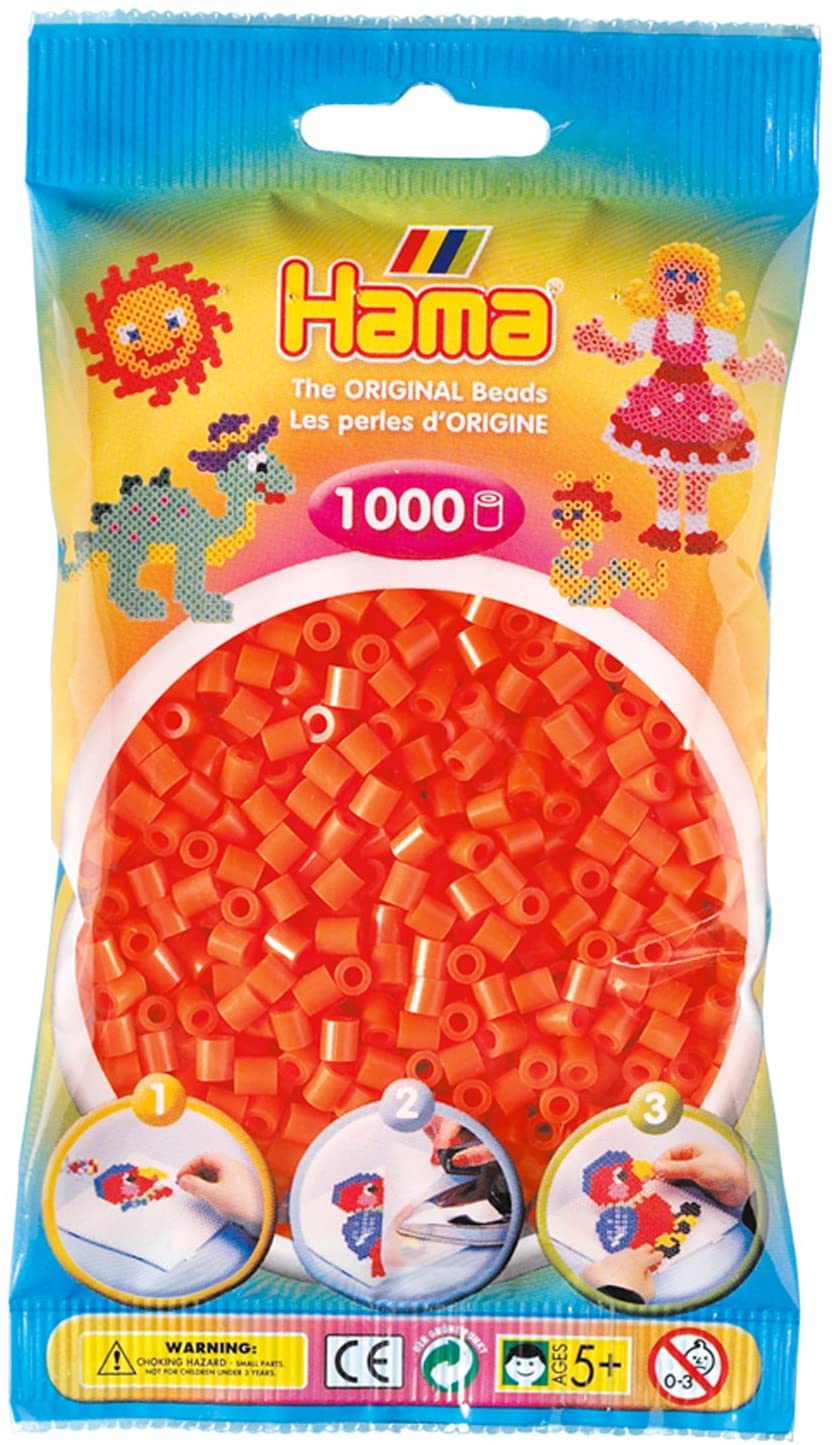
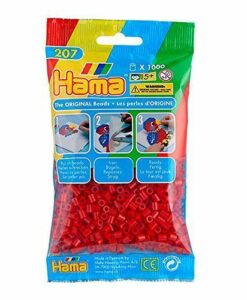
Hama Beads – Orange – pack of 1000 (Standard Beads (Midi))
$4.29 $3.29
A pack of 100 Standard (Midi) Hama Beads (also known as Perler beads).
9 in stock
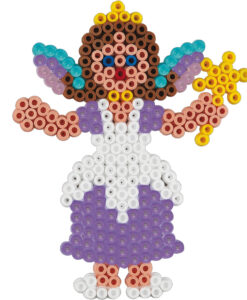
Hama beads (also known as Perler beads in the USA, or sometimes Nabbi beads elsewhere) are plastic fusible beads. The coloured beads are arranged on a plastic pegboard to form patterns or pictures. Once the pattern or picture is complete, the beads are fused together with a clothes iron. Hama beads can also be strung into necklaces, woven into keychains, or even assembled into three-dimensional decors.
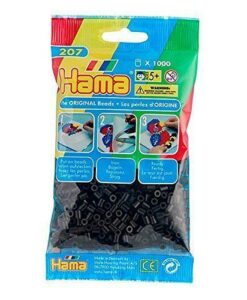
This is a pack of 1,000 orange beads. Orange is a bright, vibrant colour for a range of designs, from patterns and backgrounds through to nature-focused designs. A highly recommended colour to have on hand. They are standard Hama beads (5mm, usually referred to as Midi beads to distinguish them from Maxi beads and Mini beads, both of which are far less popular than Hama Midi beads).
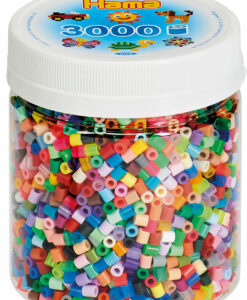
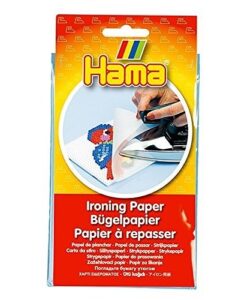
If you would rather buy a tub of mixed colours, we sell those too, as well as ironing paper and pegboards. You will find them all on our Hama beads page. Hama beads are a fun and inexpensive art form that inspires creativity. It can also help young children develop hand-eye coordination skills, and can assist with learning colour names, shapes and basic counting.
Designing your picture or pattern on the pegboard is easy, but some Hama beginners can get a bit intimidated by the ironing (fusing) stage. Here is a short description of how to do it:
-Use a level surface to place your beads on a pegboard. Once you’re happy with the design, preheat a dry household iron to its medium or high setting. Do not add water to your iron, otherwise the steam will ruin the beads! Cover the beads with a sheet of ironing paper. Keep the iron level and slowly move it in a circular motion for about 30 seconds while pressing the beads very gently.
-Try not to bump the beads from the pegboard. It is usually best to iron the beads on the edges of your design first to avoid them being pushed out before they are melted and fused together (doing them first basically seals the outline of your design). If some beads tip over, put away the iron straight away. If you do this you can rescue them by using a toothpick or a tweezer to place the beads back onto the pegs.
-When you’ve finished fusing one side, put something heavy and flat (eg. hardcover books) books on top of the ironing paper to even out the surface. Without this pressure being applied the heated beads may start warping. Leave the weight on for a minute or two. Once the beads cool off, slowly and carefully peel off the ironing paper. Then gently lift the fused beads (your design) from the pegboard and flip them over.
-Cover the other side with the ironing paper (which you can reuse as long as it is not damaged) and iron it evenly.
Don’t feel bad if your initial ironing attempts end up with over-heated beads, missing pieces, or an uneven surface; just experiment with small designs first to develop your ironing skills. You will soon be able to create larger and more amazing Hama beads designs.
Crafting with Hama beads is recommended for ages 5 and above. Of course, the ironing should only be done by an adult. Each Hama bead is only 5mm wide, so they can be difficult to handle for young kids – they may need some help but that just means that you can join in the fun and creativity!
| age recommendation |
|---|
Only logged in customers who have purchased this product may leave a review.
Related products
- New Products -
- New Products -
- New Products -
- New Products -



Reviews
There are no reviews yet.